How to Create Your Own LED Light Fixture: Aluminum Channels
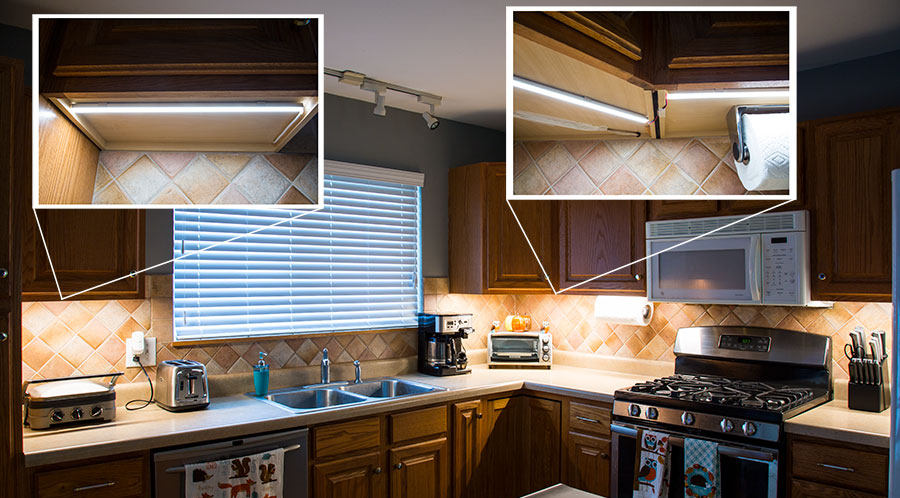
Build linear lines of light to fit the practical and aesthetic needs of your space. Our ever-expanding line of Aluminum Channels provide safe, durable, and beautiful housing for our offering of LED strip lights. With a variety of frame including corner and O-shaped, these products can be cut to size, and accommodate different lens options such as clear, frosted, and even black. Not only do these channels easily secure tape lights in place, but they can be totally customized to create an illumination experience unique to your kitchen cabinets, display case, or bookshelf.
And use our step-by-step guide below to create your own light fixture:
Materials Used:
LED profile
LED strip light
Profile lens
End caps
Mounting clips or double-sided tape
Please note that your specific channel might vary from the one used in this tutorial.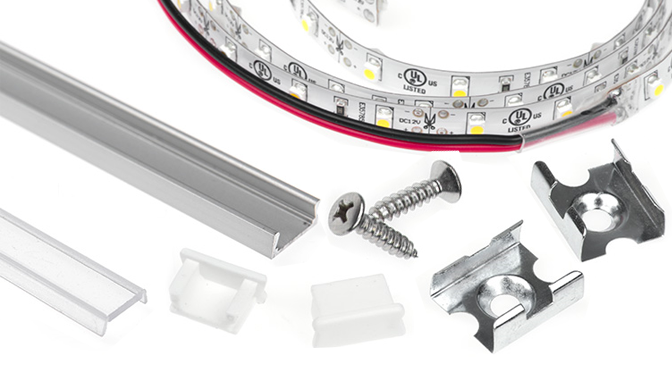
1. With a pair of clippers, carefully clip through the clear plastic heat shrink as shown in figures A-C. You will want to take your time and be careful not to cut the strip’s wires while removing it.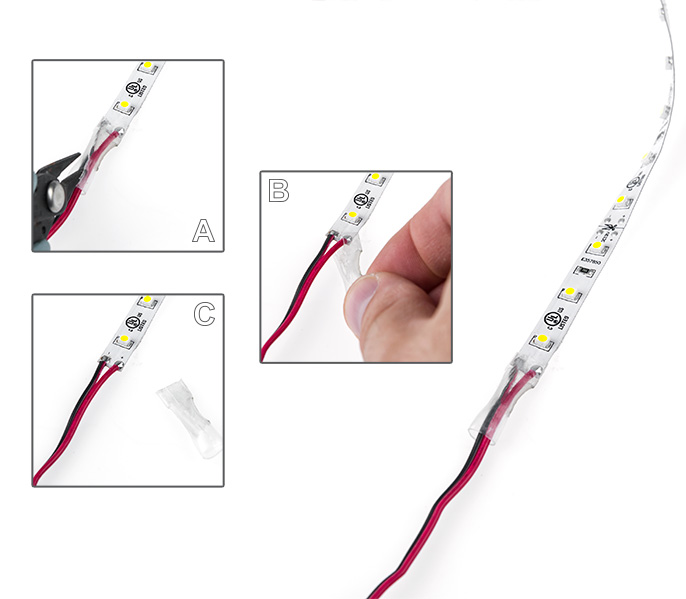
2. Lay the LED strip into the channel, and position it along the bottom so that the ends of the strip and the channel are lined up (fig. A). Now, remove the paper from the strip’s adhesive backing (fig. B), and adhere the strip to the LED channel—starting at the lined end and working your way to the other end of the strip. Be sure to leave roughly 1/4-inch free at the end of the channel so that you can install the end cap as shown in figure C.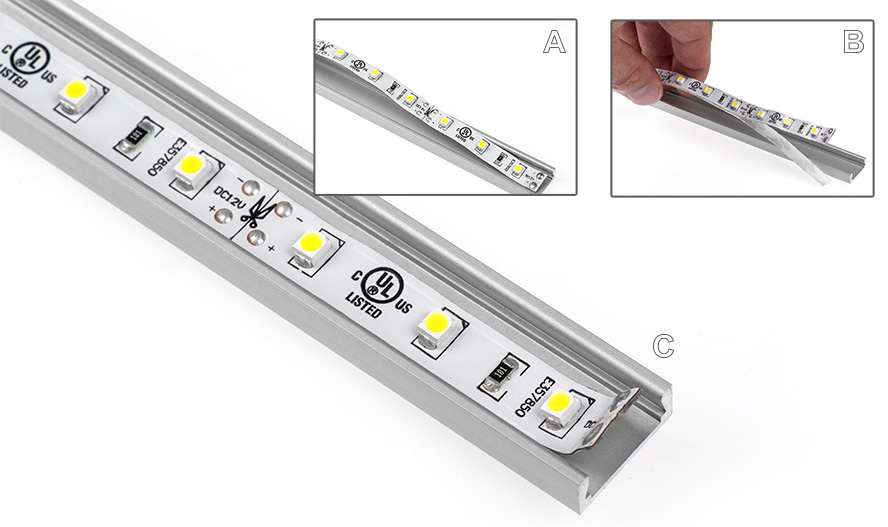
3. If one of your end caps doesn’t come with a pre-drilled hole, you will need to drill your own to allow the wires of the LED strip light to come through. In this case, we used a Dremel tool. Regardless of the tool you choose, it is helpful to mark the end cap where you would like the wires to come through. Start the hole small, and increase the size as necessary.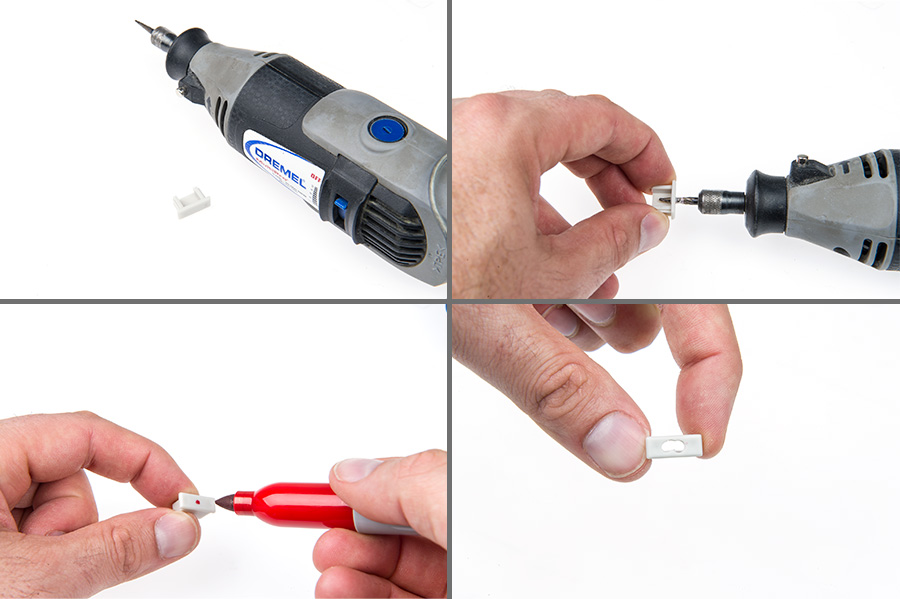
4. Place the end cap on the wired side of the strip by threading the wires through the end cap as shown in figure A. Insert the end cap into the end of the light bar, and push firmly until it is fully in place (fig. B).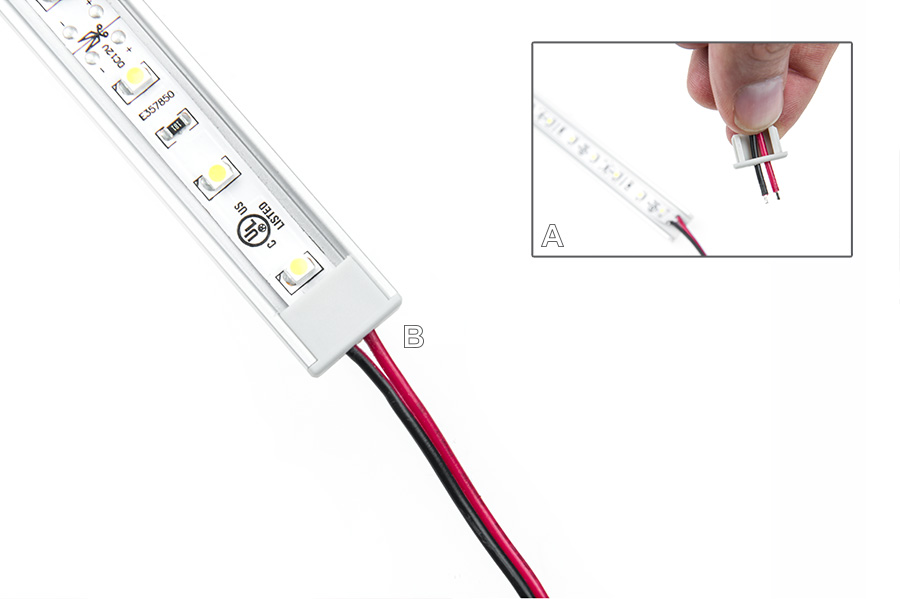
5. On the open end of the bar, slightly peel up the end of the LED strip (fig. A); this is necessary to install the end cap. Now measure your channel lens, and trim off the excess with clippers (fig. B). Be careful when trimming to avoid cracking the plastic. Excess material can be lightly sanded off. Once the lens has been cut to the proper length, slide it into the channel, and install the end cap as shown in figures C and D.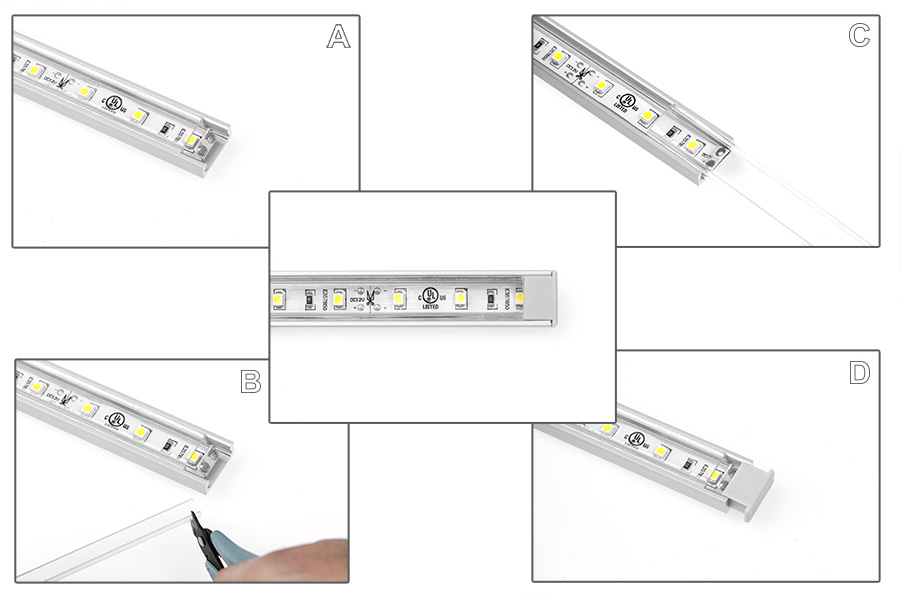
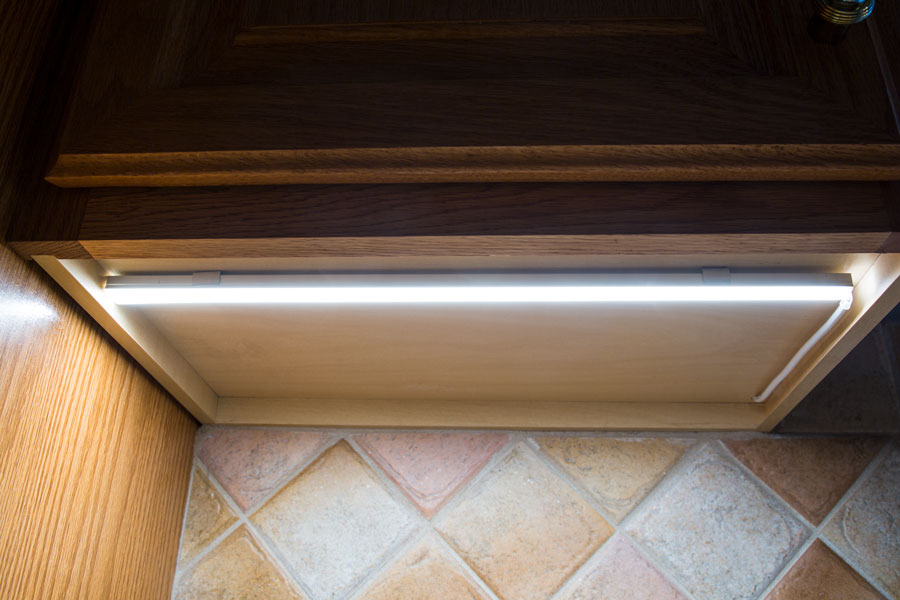
6. That’s it! Your customized LED light fixture is built and now ready for installation.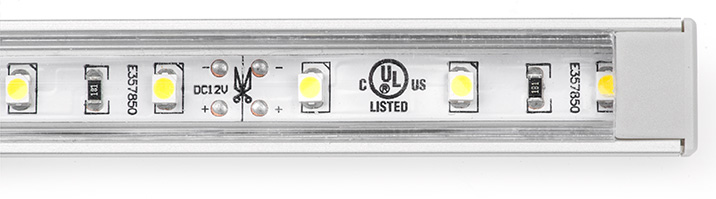
7. Mounting this LED profile is as easy as applying double-sided tape to the back of it and sticking it to your intended surface. Be sure to cut the tape to fit the back of the LED profile and to leave the tape backing on the side not attached to the channel until you are ready to mount it.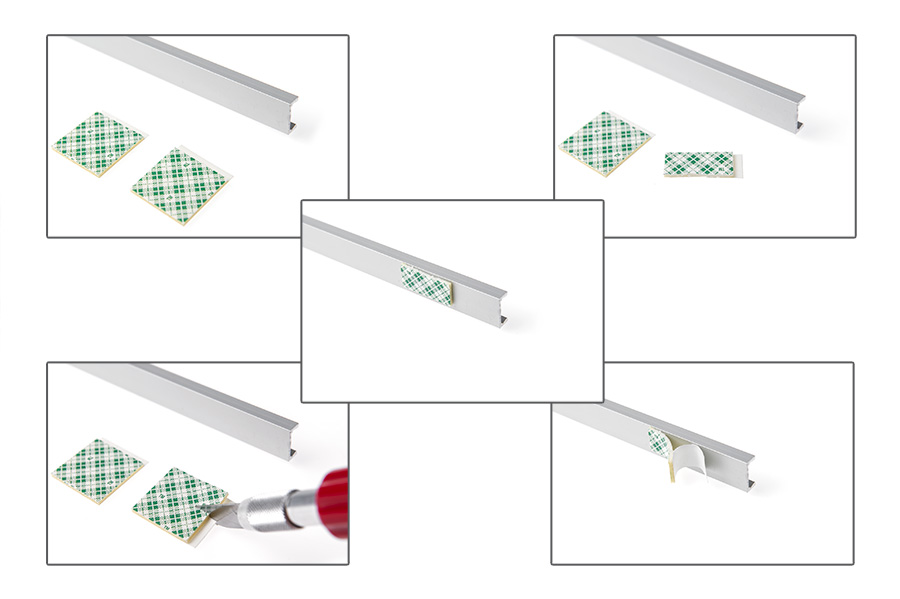 For most LED profiles, mounting clips are available for a more permanent installation.
If you have questions,don’t hesitate to call us toll free at +8615817617745. Our customer service and technical support teams are available from 9:00 a.m. to 8 p.m. CDT Monday-Friday
Post time: Jun-09-2020